Automated Reporting
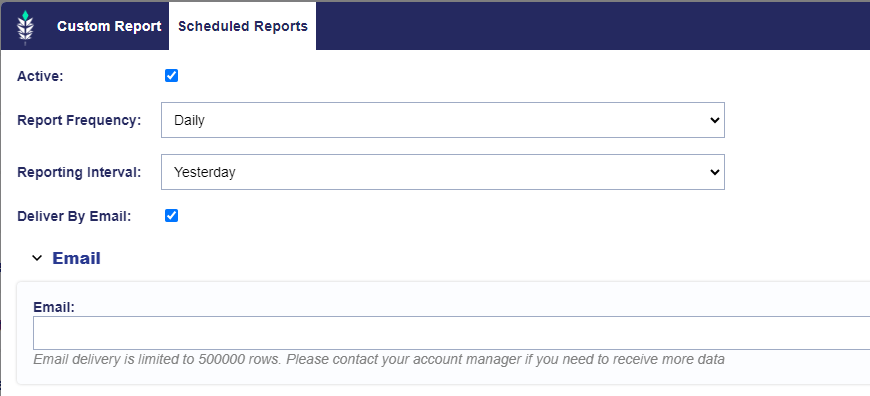
Custom reports can be automatically delivered to your email, FTP or S3 bucket, or Google Cloud Storage on the schedule of your choice. When creating a custom report, select the ‘Schedule Automated Report’ box, then open the ‘Scheduled Reports’ tab to choose the schedule and configure the delivery method.
Custom Report Delivery by S3
Setting up Pontiac Scheduled reports delivery in AWS S3 requires:
Creating a bucket in AWS S3:
- In AWS S3 click Create Bucket
- Chose a bucket name that is available and the desired AWS Region.
- Change Object Ownership to ACLs enabled.
- Uncheck Block all public access field and check “I acknowledge that the current settings might result in this bucket and the objects within becoming public”.
- Click Create bucket.
- Navigate to the newly created bucket and click Create folder with the output path that we chose in Pontiac (“output-path”). Confirm to create the folder.
Setting up the report in Pontiac:
- Go to Reporting tab and then click New Custom Report.
- Select Log Level Report from the Report Type Drop Down
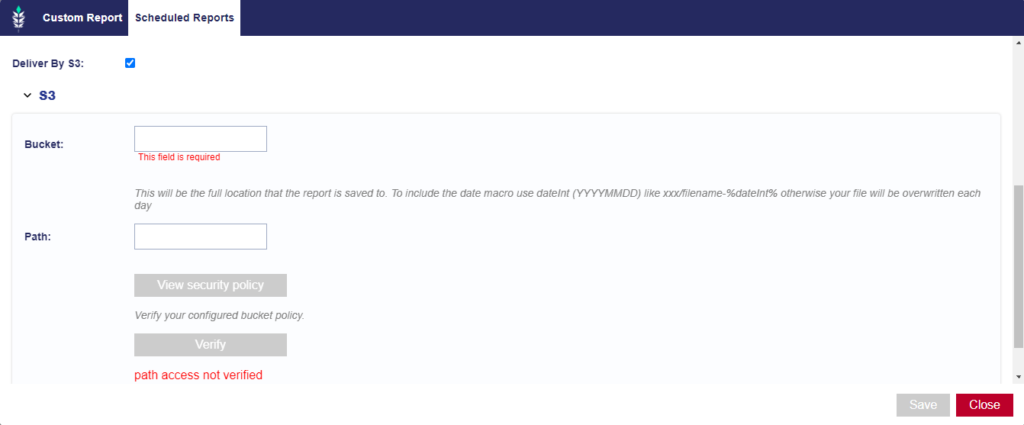
- Go to Scheduled Reports tab and check Deliver by S3 box.
- In the expandable section fill out the Bucket field with the AWS S3 Bucket name. Example: S3-test-bucket.
- Fill out the Path field with a desired output path location and file name (To include the date macro use dateInt (YYYYMMDD) like xxx/filename-%dateInt% otherwise your file will be overwritten each day). Example: output-path/Pontiac-reports.csv or output-path/Pontiac-reports-%dateInt%.csv
- Click View security policy and copy the full text area.
- Go to Amazon AWS S3 and modify permissions for the bucket we chose earlier. In the Permissions tab click Edit and paste the policy text from earlier and Save.
- Back in Pontiac reports screen click Verify and wait for a successful confirmation message.